Enable IPv6 connectivity to and from containers deployed with Kamal

At the moment, Kamal doesn’t support IPv6 out of the box. Meaning your containers won’t be able to reach IPv6 hosts at all. IPv6 support is expanding, and on some of my projects, I need such connectivity. Taking Kamal for a ride, I’ve run into this issue and had to solve it.

I’ll show you how to do this, both with an already deployed app, as well as if you haven’t run “kamal setup” just yet.

Already deployed app

There will be a short downtime (couple of seconds) while you do the switch. So plan for that.

All we need to do is to recreate the kamal Docker network, which is created with IPv4 support only, by Kamal. The problem is, you can’t remove a Docker network if containers are attached to it.

Here’s a script that reconnects the containers to a temporary network, recreates kamal network with IPv6 support, connects the containers back to it and cleans up. During this, there will be a few seconds of a downtime, as your containers will briefly loose connection to the network and/or between each other.

#!/usr/bin/env bash
set -euo pipefail

OLD_NET="kamal"
TEMP_NET="kamal_tmp_v6"

echo "Collecting containers connected to network '$OLD_NET'..."
CONTAINERS=$(docker network inspect "$OLD_NET" -f '{{range .Containers}}{{.Name}} {{end}}')

if [ -z "$CONTAINERS" ]; then
  echo "No containers found on network '$OLD_NET'."
  exit 1
fi

echo "Creating temporary IPv6-enabled network '$TEMP_NET'..."
docker network create \
  --ipv6 \
  "$TEMP_NET"

echo "Connecting containers to temporary network..."
for c in $CONTAINERS; do
  echo " โ†’ Connecting $c to $TEMP_NET"
  docker network connect "$TEMP_NET" "$c"
done

echo "Disconnecting containers from old network '$OLD_NET'..."
for c in $CONTAINERS; do
  echo " โ†’ Disconnecting $c from $OLD_NET"
  docker network disconnect "$OLD_NET" "$c" || true
done

echo "Removing old network '$OLD_NET'..."
docker network rm "$OLD_NET"

echo "Recreating network '$OLD_NET' with IPv6 enabled..."
docker network create \
  --ipv6 \
  "$OLD_NET"

echo "Reconnecting containers to new '$OLD_NET'..."
for c in $CONTAINERS; do
  echo " โ†’ Connecting $c to $OLD_NET"
  docker network connect "$OLD_NET" "$c"
  echo " โ†’ Disconnecting $c from $TEMP_NET"
  docker network disconnect "$TEMP_NET" "$c" || true
done

echo "Cleaning up temporary network '$TEMP_NET'..."
docker network rm "$TEMP_NET"

echo "โœ… IPv6 successfully enabled on '$OLD_NET' and containers reattached."

Copy it anywhere on your server, for example ~/enable_ipv6_on_kamal.sh, make it executable and run it:

chmod +x enable_ipv6_on_kamal.sh

# Run it
./enable_ipv6_on_kamal.sh

You’re done. After a few seconds you should be able to access your app, as kamal-proxy succeeds with it’s health checks.

Before your first deployment

This is easier. On the host, just create the Docker network Kamal expects manually, and Kamal will use that once you start deploying.

docker network create --ipv6 kamal 

That’s all! Now you can run kamal setup from your developer machine and you’ll have IPv6 connectivity from and to your containers right away.

Envirobly – Efficient application hosting platform

Envirobly is a startup I solo founded and launched in October 2025. It’s a culmination of an intense 3 year work, crafting an ideal platform to deploy web applications to, while keeping the costs manageable.

Check out the website to learn more.

Mentions

testerobly – lightweight automatic test runner

I’ve been running into issues, like intermittent crashes, with guard, which is a favorite amongst Rubyists, when it comes to automatically running unit tests on a file change. I’ve decided it would be a fun exercise to create my own tool, addressing my needs specifically:

  • Listen for file changes and run matching tests.
  • Customize configuration per project.
  • Pause during git operations like checkout.
  • Run all tests with Enter press.
  • Fast, simple, stable and resource efficient.
  • Can be used together with interactive debug mode.

I’ve achieved that goal with testerobly which I published as a Ruby gem, under the MIT license.

I’ve been using it for many months now, on quite a few projects and it has been delightful. It does exactly what it says it does and gets out of the way.

Go check it out.

Configuring SSHKit in Automated Tests

When using Ruby’s SSHKit gem in your application, you might want to test code that uses it. Most likely, you don’t want to connect to real servers when automated tests are run. Luckily SSHKit includes a backend just for that, called Printer.

You can easily configure your test suite to use it:

SSHKit.configure do |kit|
  kit.backend = SSHKit::Backend::Printer
end

In a Rails application for example, simply add this to your test_helper.rb. Now all the execute statements will be printer to the standard output.

You can also implement your own SSHKit backend, based on the Printer class, if you need something more involved, like saving all the commands into a Thread.current variable and running assertions on them within your test.

MacOS Ventura firewall repeatedly asks to accept incoming connections when reinstalling a Ruby version with rbenv

On my Intel iMac on macOS Ventura 13.4 I ran into this annoying issue when reinstalling the same version of Ruby (3.2.2 for example) with rbenv. When running rails test:system the firewall’s “Accept incoming connections” dialog would pop every time, no matter whether you Denied or Allowed the connection to go through previously, making testing quite painful.

I couldn’t find a working solution through googling, but ChatGPT was able to help. It’s as simple as:

sudo codesign --force --sign - $HOME/.rbenv/versions/3.2.2/bin/ruby

Simply find the ruby bin version you’re having problems with inside your .rbenv folder and instruct macOS to re-sign it. The expected output should be something like:

/Users/klevo/.rbenv/versions/3.2.2/bin/ruby: replacing existing signature

After that, you’ll need to confirm or deny the “Accept incoming connections” Firewall dialog when running something like system test suite, but afterwards the Firewall should remember your choice.

Lastly, this only seems to affect Intel Macs. At least for me, no such issue occurred when reinstalling ruby with rbenv on an ARM MacBook.

Thanks AI ๐Ÿ™‚

navigator.clipboard does not work under plain HTTP in latest Safari (on .test domains)

I just noticed that on the latest MacOS Ventura 13.3.1 with Safari 16.4, the navigator.clipboard API is not accessible under plain HTTP .test domains, used with puma-dev for example. It returns “property is undefined” type of error.

The solution is to switch to HTTPS. With puma-dev this is simple, as it comes out of box with support for secure connections.

I haven’t had a chance to test it with plain old localhost yet, but I figured to post this, in case it trips you too.

How I run puma-dev alongside Rails’ bin/dev

The bin/dev script Ruby on Rails ships with, if you for example init the app with --css=tailwind or --css=bootstrap is great. It comes with auto-generated Procfile that will launch the web server and the Tailwind CSS (or other) preprocessors. In addition bin/dev will install the foreman gem if it does not exist on your system.

At some point however, you’ll want to run multiple Rails applications on your developer machine. Doing that with localhost:3000 will get annoying at some point (cookie sharing, changing ports, everyone in the team handling it differently, no HTTPS to test with…).

puma-dev has been around for a long time to solve this. However while it takes care of running the web server part for you (in the background), you still want to see the logs, run your CSS (or JS) preprocessor or compiler, job workers, etc. I figured out it’s simply about adjusting the Procfile and bin/dev slightly and one can use the familiar approach in conjunction with all the puma-dev features.

This is what I do:

My Procfile.dev looks like this:

web: tail -f log/development.log
css: bin/rails tailwindcss:watch

The change is in the web: stanza. Instead of launching puma server, we simply tail the logs, as puma will be run by puma-dev in the background for you, as soon as you visit your local .test domain.

My bin/dev looks like this:

#!/usr/bin/env bash

if ! command -v foreman &> /dev/null
then
  echo "Installing foreman..."
  gem install foreman
fi

if ! command -v puma-dev &> /dev/null
then
  echo "Installing puma-dev..."
  brew install puma/puma/puma-dev
  echo ""
  echo "To finish puma-dev setup run:"
  echo "sudo puma-dev -setup"
  echo "puma-dev -install"
  echo "puma-dev link -n myapp ."
  echo ""
fi

foreman start -f Procfile.dev

I’ve added a section that installs puma-dev (if your team is using Homebrew) and prints out instructions on how to complete the setup.

For your use case, simple replace “myapp” above with the name of your app.

This feels like sticking to the Rails way and is easily extensible if you also want to launch other services in development, like job workers, by simply adding a stanza in the Procfile.dev. Neat.

Scaffolding in Rails 7 is amazing

I’m continuously being impressed by the productivity and ease of use enhancements Rails keeps making after all these years it has been around.

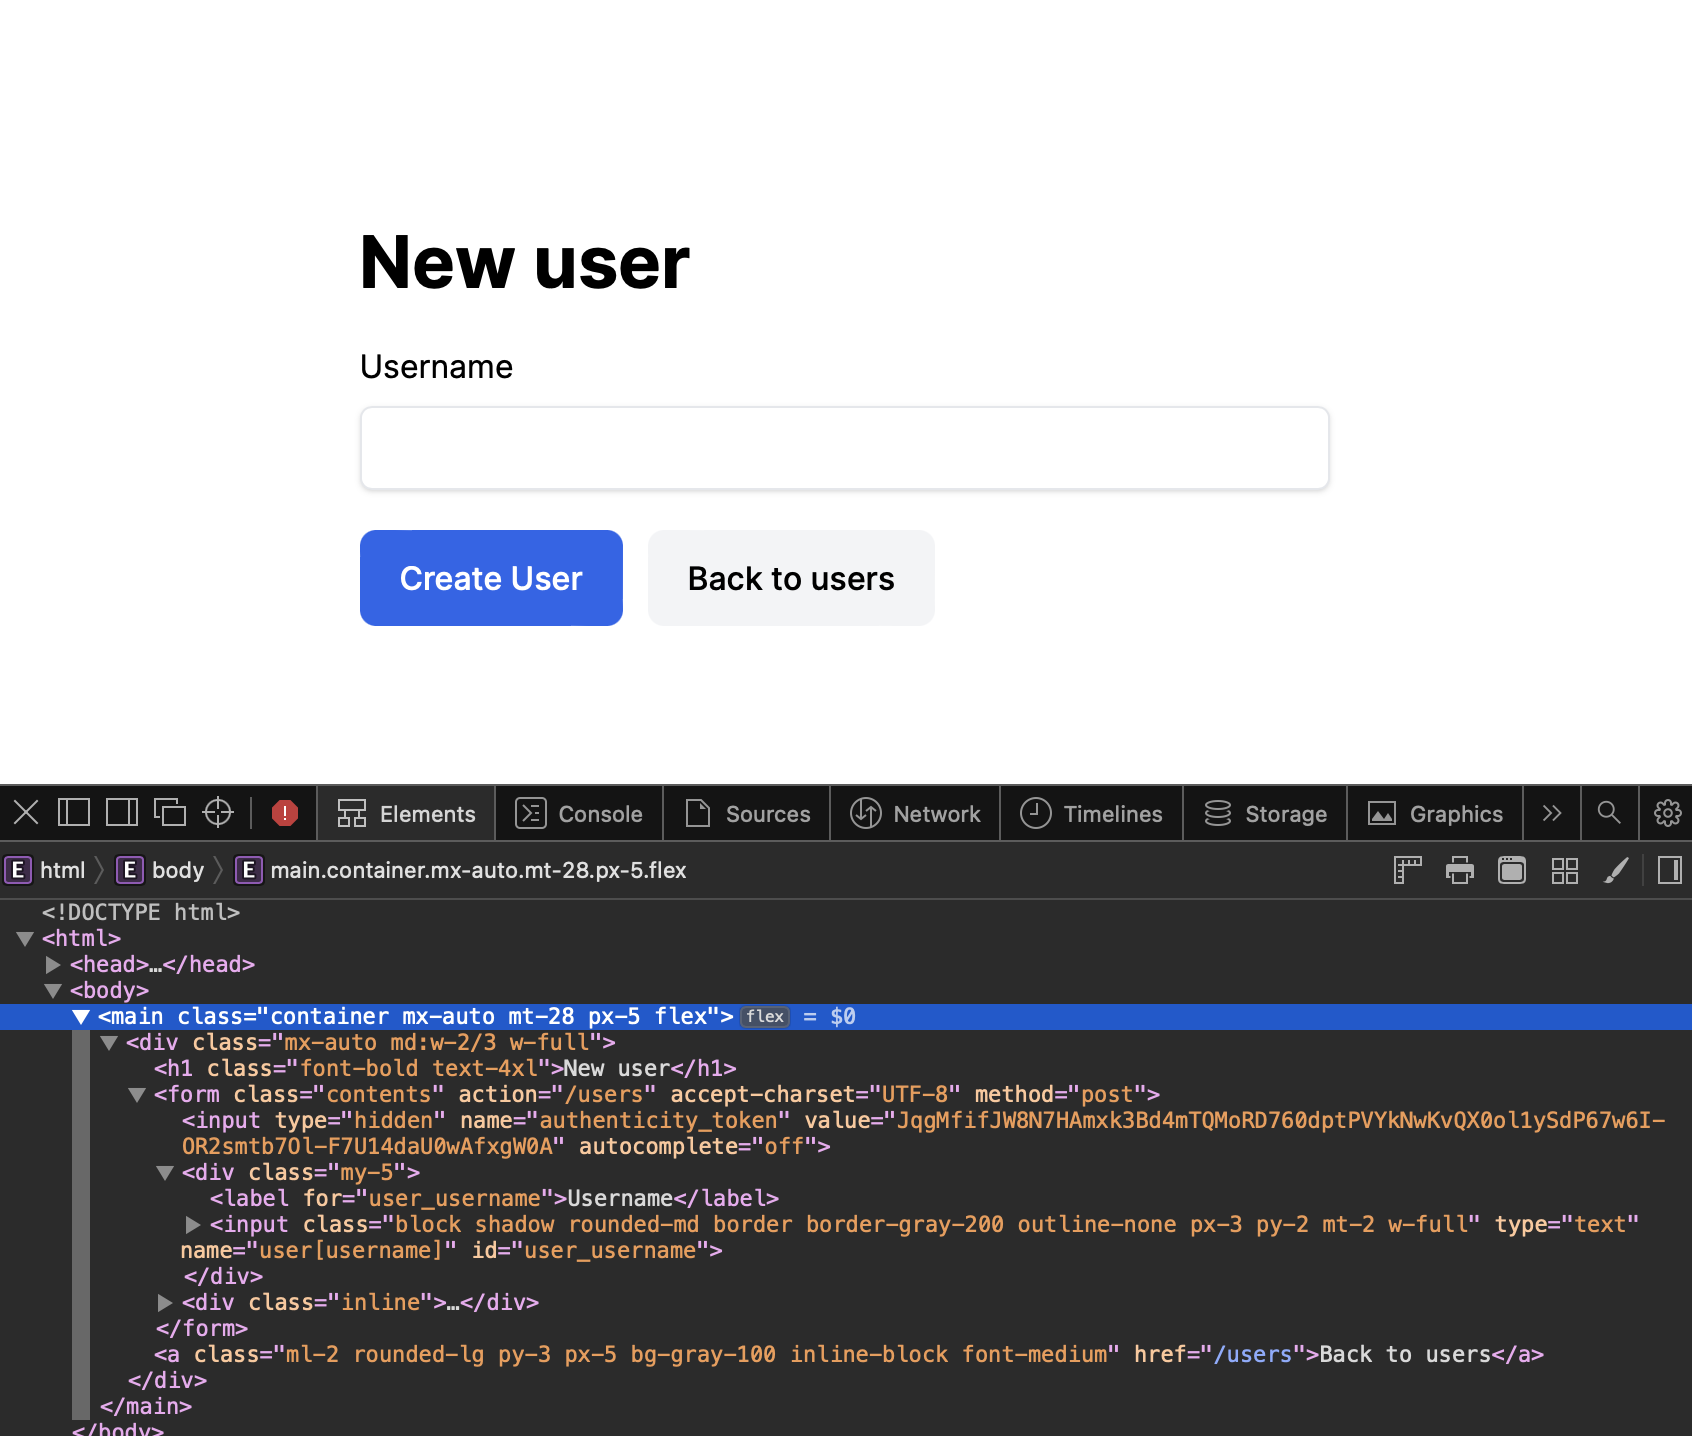
Today I discovered that scaffolds generated in brand new --css=tailwind enabled Rails 7 codebase, is generating basic, beautiful Tailwind markup out of the box.

rails g scaffold_controller User username:string

Produces:

Index of a freshly generated model.
Edit view. Notice the Tailwind markup.

Further I have this in my config/application.rb to prevent generating files that I don’t use for every single resource until they are needed:

config.generators do |g|
  g.assets false
  g.helper false
  g.jbuilder false
end

That’s a damn good job Rails community. โค๏ธ

Easily switch or experiment with different databases in Rails

I just learned about rake db:system:change task that Rails provides, to speed up switching between different database engines. If you’re experimenting with something, or benchmarking things, this is super useful.

I had a simple PostgreSQL app and running rake db:system:change --to=sqlite3 and afterwards rake db:setup got me going with my task in seconds.

Small detail I noticed, rake -T which should list all available tasks, does not show anything about db:system for some reason.